
Creating a new page is the first thing almost everyone wants to do in WordPress: a services one, a schedules one, one with a promotion. With the block editor, which is included in WordPress, you do it without code and seeing the result as you write. We explain how to create a page in WordPress step by step, from the blank page to publishing it.
The essentials in 30 seconds
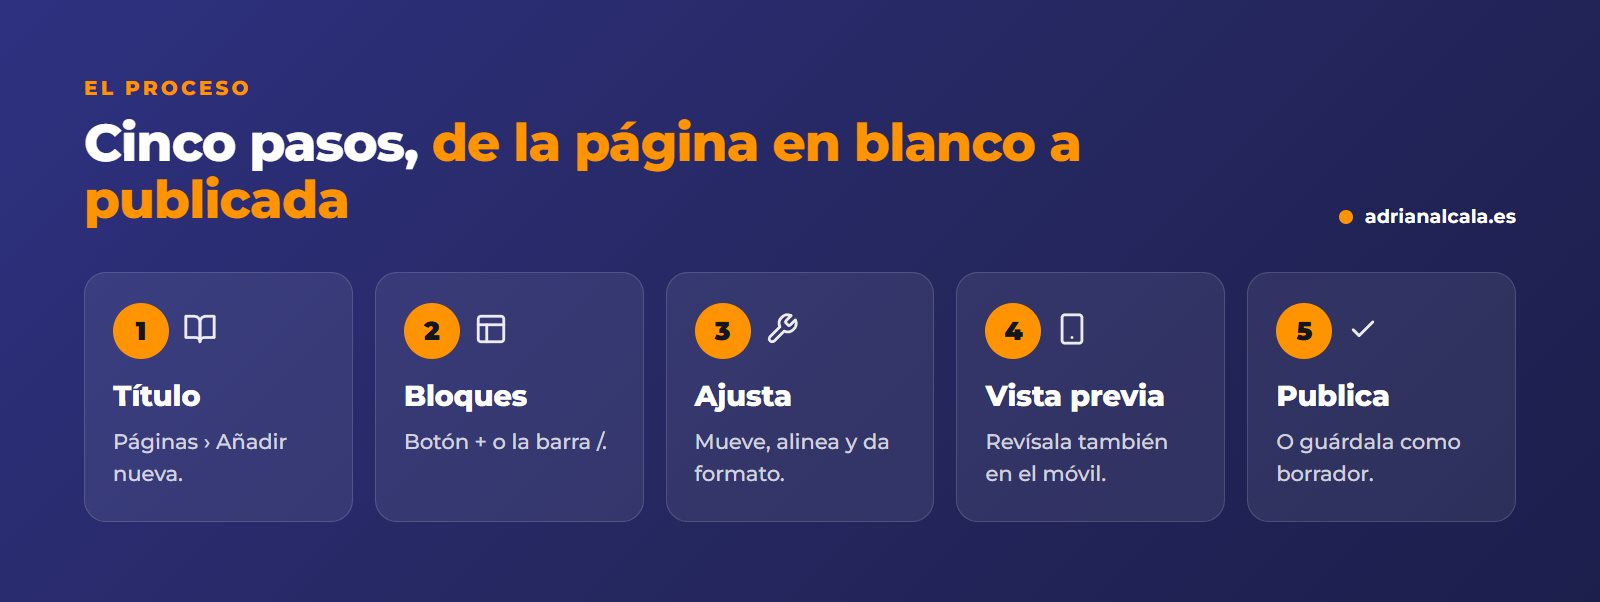
- Go to Pages › Add new, write the title and start adding blocks.
- Each thing is a block: a paragraph, a heading, an image, a button.
- With the button + you add blocks; by writing / you search for them by name.
- Use Preview before Publish, and check the page on mobile.
In this article
Page or post: which one do you need?
| Page | Entry | |
|---|---|---|
| What for? | Fixed content: services, contact, about us | Blog articles and news |
| Date | It doesn't matter | They are ordered by date |
| Where does it appear? | In the menu, if you add it | On the blog, only |
The editor is the same in both; only where the content appears changes. In this guide, we create a page.
Step 1: create the page and give it a title
In the side menu, go to Pages › Add new. The editor opens with a blank page. At the top you'll see "Add a title": type the page name, for example "Schedules". The title will also form the page address (yourwebsite.com/schedules).
Step 2: write with blocks
Below the title, click and start typing: that's already a paragraph block. Pressing Enter creates another. To add other types of blocks, you have two ways:
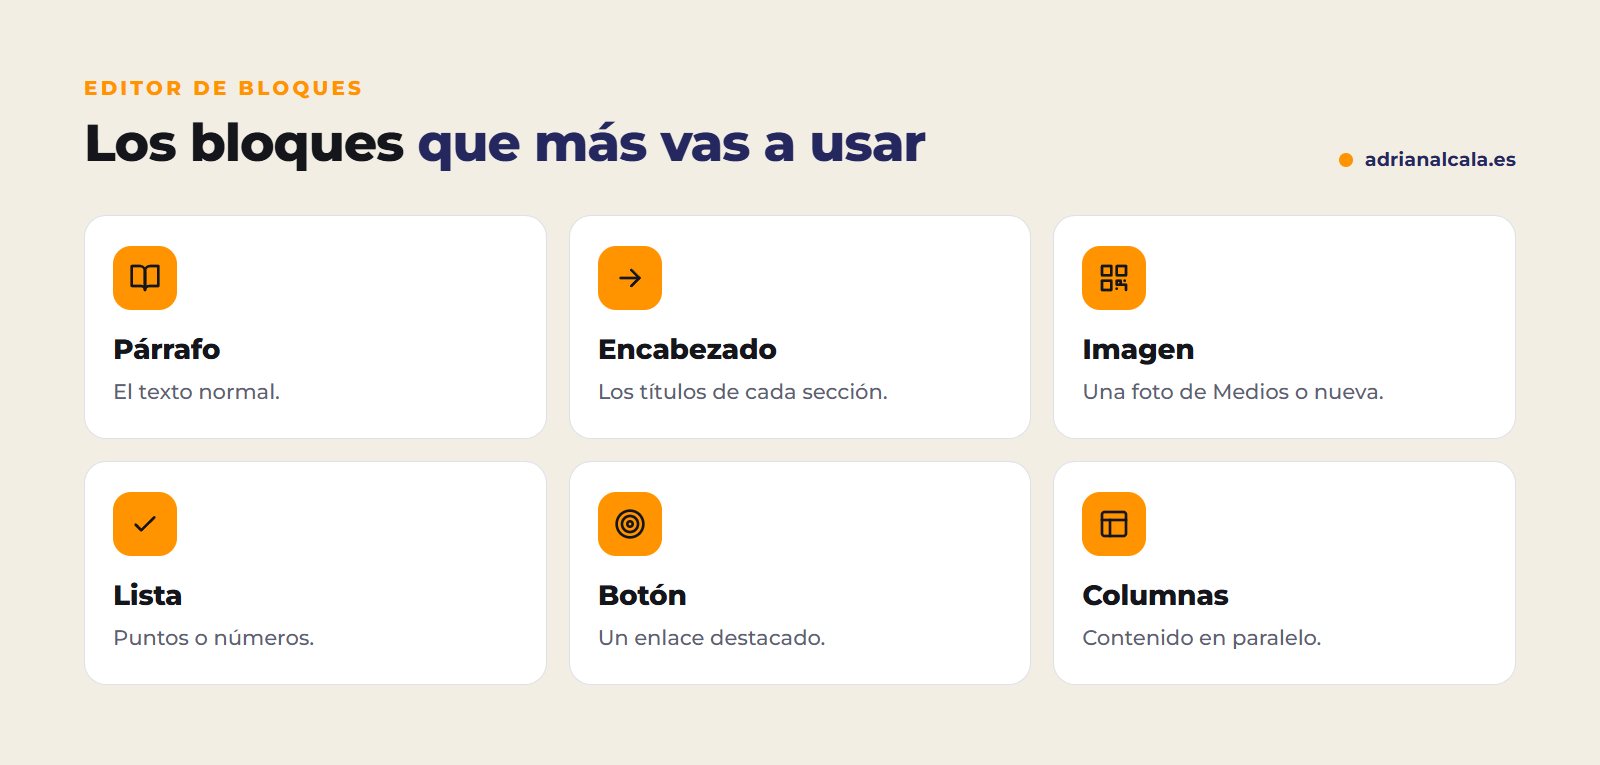
The blocks you'll use most are these:
Use headings, not large bold text
To separate sections, use the block Heading (H2, H3) instead of making a paragraph bold and larger. This way the page reads better and Google understands its structure.
Step 3: move and adjust the blocks
When you click on a block, a small bar appears above it with its options: align, bold, link… The arrows on that bar move it up or down. To the right, in the settings panel, you have more block options, such as color or size. To delete a block, use the three dots on its bar › "Remove".
If you make a mistake, Ctrl + Z (or Cmd + Z on Mac) undoes the last change.
Step 4: review with the preview
Before publishing, click Preview (top right) to see the page as it will appear on your website. From there you can choose to see how it looks on mobile and tablet: most of your visitors will come from mobile.
Step 5: publishes (or saves the draft)
Once published, the button changes to Update: every change you make won't be visible until you click it.
Does your website use Elementor?
If when editing a page you see an "Edit with Elementor" button, that page is designed with Elementor and is changed from there, not with the block editor. Simple new pages can still be made with blocks.
Frequently Asked Questions
What happens if I close without saving?
WordPress auto-saves while you write. When you reopen the page, it will offer to recover the automatic copy if it's more recent.
Can I revert to a previous version?
Yes. In the right panel, within the page tab, you'll see "Revisions". There you can compare versions and restore a previous one.
How do I change the page address?
In the right panel, in the link or URL option. If the page was already published and linked from other sites, it's better not to change it: old links would stop working.
Can I schedule a post?
Yes. Next to "Publish" there's a date option: choose the day and time, and the button will change to "Schedule".
Do you need pages that sell?
Creating a page is easy; convincing the reader is another job. If you want service pages designed to bring clients, we'll prepare a proposal for you.
Keep learning

Written by Adrián Alcalá
Web designer in Dénia. If you have any questions about what you have read, write to me.